
Discovering IoT and prototyping for the 4th industrial revolution
Overview
The Internet of Things, like all good buzzwords, emerged at the turn of the century but has in recent years been repeated ad nauseam all over the internet and news. But what exactly is the “smart revolution” all about? Are Roomba vacuums preparing to take over the world, or are we (still) safe?
The most basic definition of IoT terminology is: sensors communicating to the cloud. Usually these sensors are embedded in hardware (trackers, devices) and report data to the cloud, so that other systems can take actions based on the cloud. Fitness trackers and home automation system like Google’s Nest are well known examples of IoT devices. These are all devices that track data like heart rate, speed, temperature, and send the data to the cloud.
IoT in 2019
In 2019, various estimates place the number of IoT devices at over 20 billion, with an expected 75 billion installed devices by 2025.
There are two variants of IoT devices between passive and active. An active device is either constantly or on a timed schedule collecting information and sending it to the cloud, while a passive device requires a manual action for the data to be recorded and sent.
An endless list of companies provide IoT solutions in their products, but many also sell “kits” for individuals companies like taktwerk who want to learn about IoT. These kits come from all-in-one solutions or delivered as a electronic board and sensors you can build yourself.
We set ourselves a list of features that we required to consider a solution successful:
- Fast prototyping: The documentation for the device or kit must be good, plentiful, up to date, and it must be easy for us to get a prototype working.
- Easy to integrate into our workflow: Adding an IoT device into our workflow and servers shouldn’t be difficult or require learning 10 new programming languages.
- Independant: We should be able to build a IoT device, and forget about it for 2 months, but it should continue working during that time and save the data to the cloud.
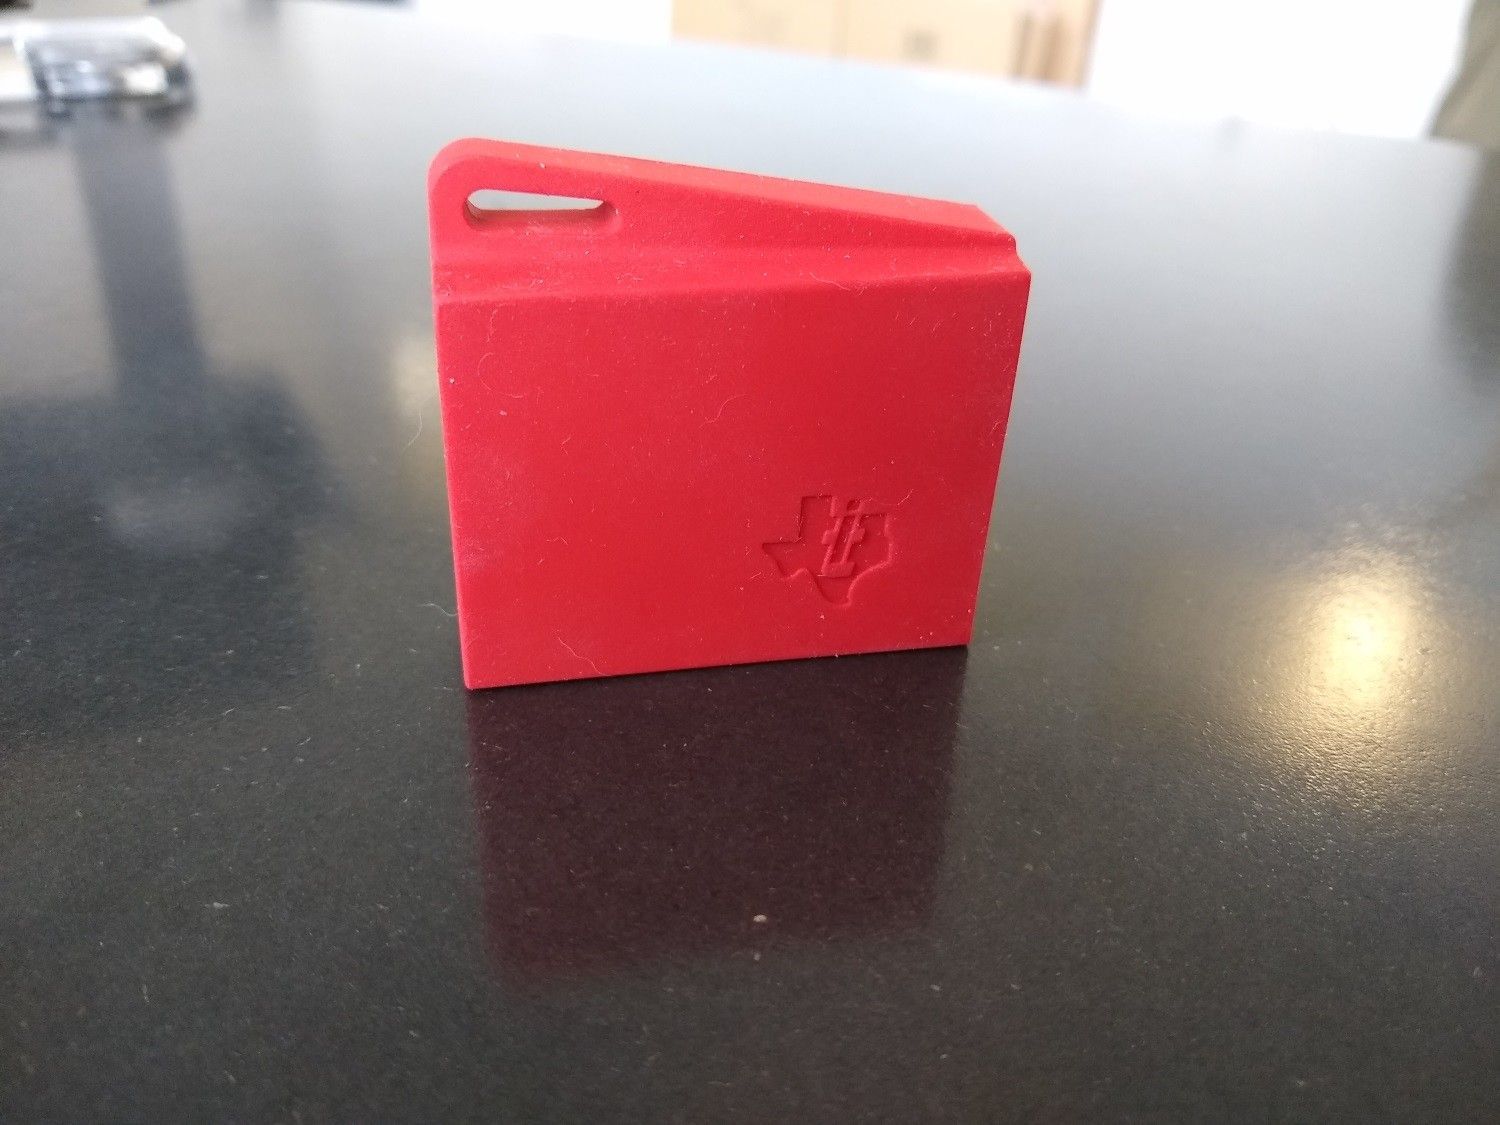
Texas Instrument SensorTag
The first kit we tried at taktwerk was the Texas Instrument SensorTag. The SensorTag comes as a ready-made solution with various sensors for temperature, humidity, movement, location, luminosity and more. A downloadable mobile apps allows a user to connect to their device and start reading the data.
One of the first problems we ran into with the SensorTag was its inability to work on WiFi. There is a model with WiFi but the one we had didn’t, and required a constant Bluetooth connectivity to the mobile phone to be able to save data to the cloud.
The second problem we faced was processing the data sent to the cloud by the device. It is possible to create micro applications to process the data received, but the whole set up was complicated and time costly, requiring us to learn many new technologies and workflows that hindered our original goal: fast prototyping.
While the SensorTag was fun to get an idea of what can be done, it was not prototyping friendly. There are existing kits to extend the functionality of the SensorTag, but those which we found all required a more advanced knowledge of electronics which we do not possess. Our goal was now to find a prototyping decide that we can communicate with, and which can be set up without a strong electronics background.
Particle Photon
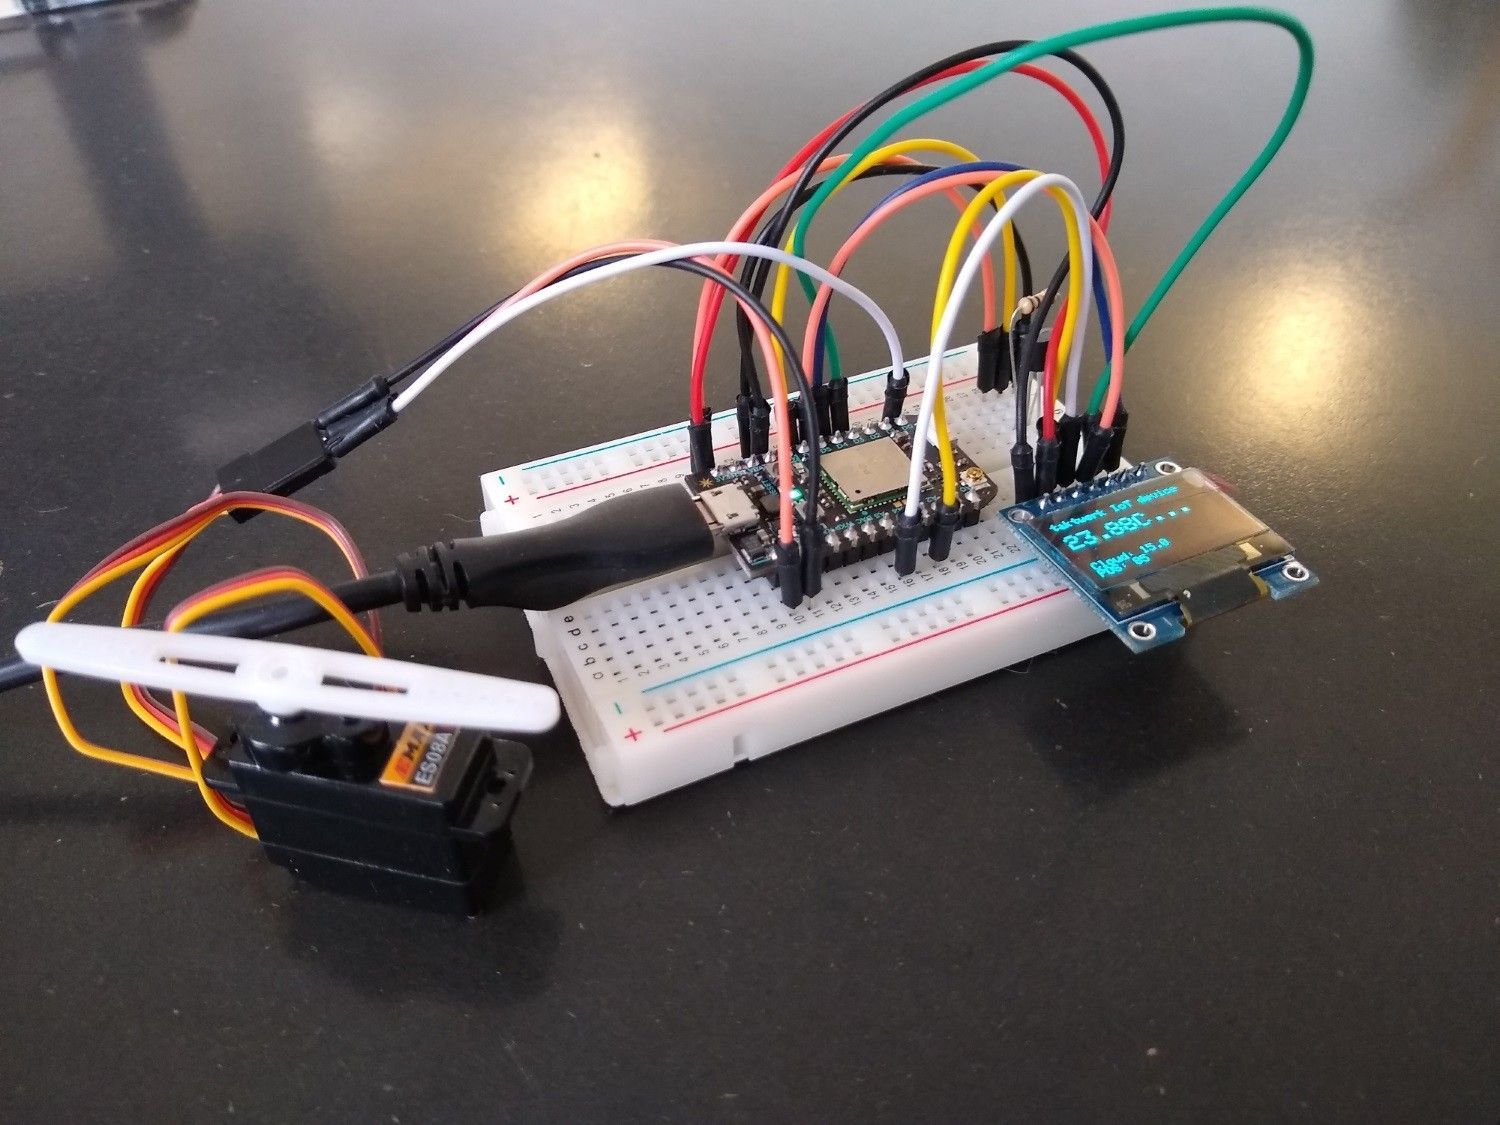
Our third and most successful contestant was Particle’s Photon. The Photon was fairly easy to set up, and not before long, we had blinking LEDs on the board. The Photon runs on a variant of C++ that is flashed onto the device through the cloud, so no cables were required at any point.
Our first prototype was playing around with the temperature sensor. Various examples were provided in the documentation and on the community forums, so it was mostly a job of copy-pasting code and putting together the right cables on the electronic board. Now that the device could read the room temperature, we needed to do something with that data. We set ourselves the goal of having the device write to one of our Slack channels every 15 minutes.
Particle’s solution includes plenty of “events” (also commonly known as web hooks) that can be called with some data from the Photon, and the event simply says what to do with the data. We set it up to make a POST request on Slack’s APIs to write to our channel, and we were done.
Delivered with the starter kit is also a small LED screen. This was an uphill battle as the documentation on the Particle website linked to a PDF in Mandarin. Luckily, the community forums had most of the answers and examples we needed. With our screen now hooked up (after much trial and error with the cabling), we could write the temperature on the device in real time, and still only send the data to Slack every 15 minutes.
We now had a device that could record data, show it in real time, and send it to the cloud every now and then. But we also wanted our device to be “smart” and react to external output. Luckily Particle provides Particle Functions which allow us to send data to the particle API, which takes care of sending it to the device. The device then receives the data and we tell it what to do with that data in C++.
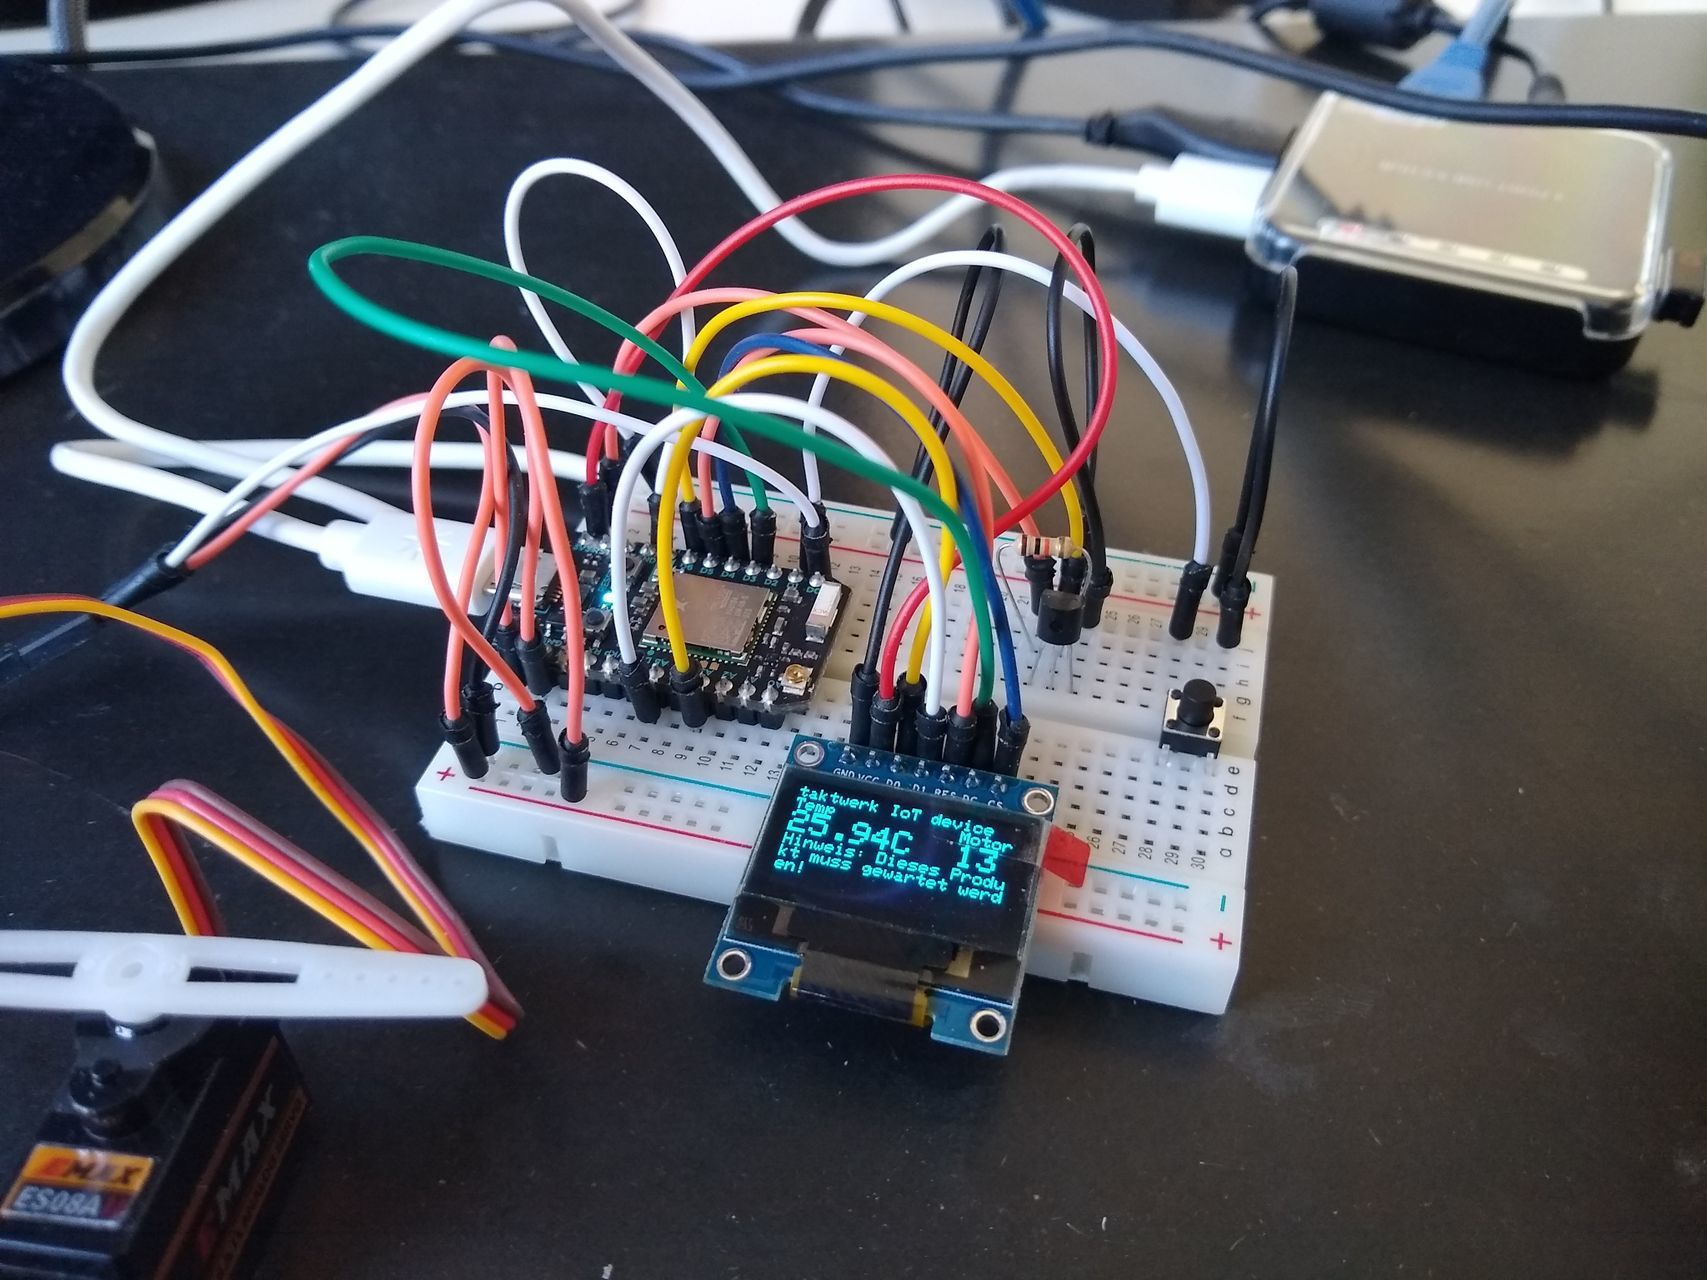
We were nearly done, but felt like we could go a bit further in our prototyping, so we added a button on the board itself to activate the motor, and another Slack message each time a motor is activated. We also worked with the EEPROM on the device to record how many times the motor was activated. While it worked at first, after a week of playing around, values saved on the EEPROM were no longer being recorded. Reading the documentation further mentioned that the on board memory can only handle about 10'000 write cycles before it degrades.
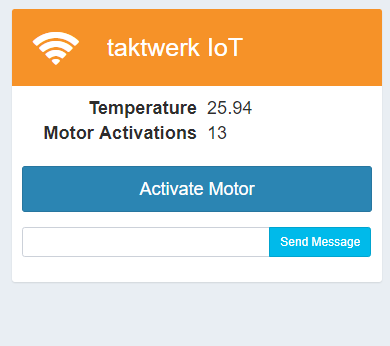
The last little bit we wanted to build was an interface in our software that can communicate with the device. We built a simple UI that displays the recorded temperature and the number of motor activations, as well as a way for us to send a message from the web to the device to be shown on the display.
The board of our prototype is now full of cables and features, but we have a fun little device that opens up many possibilities for us to invest more time into.
For more information check out our video on youtube.
Conclusion
So, are Roombas about to conquer the world? Well, probably not. While devices like those and fitness trackers are prime examples of IoT devices that make it to the mass market, the possibility for disruption from IoT devices is still enormous, both for private customer and companies. Smart monitoring through IoT devices can improve efficiency, security and productivity when done right, helping users to make faster decisions and access data that is most likely to be needed based of feedback from sensors.
Artikel teilen
Ähnliche Beiträge

Der Weg zum digitalen Ablagesystem (1/3)
